Tablet Weaving and Ply-Splitting Books, Tools & Kits
![]()
Tablet Weaving and Ply-Splitting Books, Tools & Kits


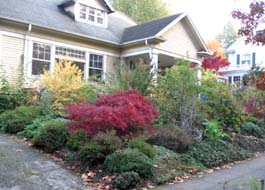
 John called it my "crop circle". On the far right, a view of the same area in Fall 2006. The plants in this photo include lavendar, thyme, chard, burning bush, calendula, red osier dogwood, oxalis, yarrow, gingko, and arctic willow.
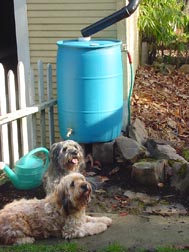
 Collecting and using rainwater. In November 2004, we installed our first 50-gallon rain barrel next to the garage, shown here with our Tibetan terriers, Spike and Jones. As of March 2009, we have 10 barrels scattered around the house. For the first eight, we bought food-grade barrels from The Yoshida Group in Portland for $5.00 each, and installed fittings that we got from Division Hardware. The last two, in the front yard, are deluxe models from the Rainbarrel Man in Portland. We use the rainwater for watering vegetables during the summer, when it's hot and dry, and also occasionally for flushing the toilet during the rest of the year, when we have plenty of rain.
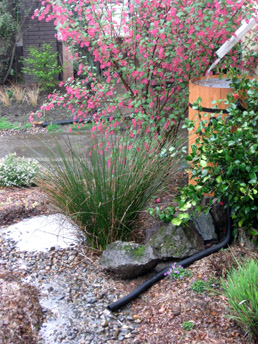
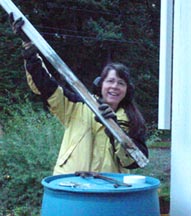
 Collecting and using graywater. We started collecting gray water in a very simple way -- in plastic containers in the kitchen and bathroom sinks. We pour water from these containers into buckets to use for toilet-flushing, and also carry graywater in buckets outside to water our trees and ornamental plants. I consider the water-carrying a great way to get exercise and to maintain strength in my arms. I also enjoy inviting visitors to participate in our water conservation practices!
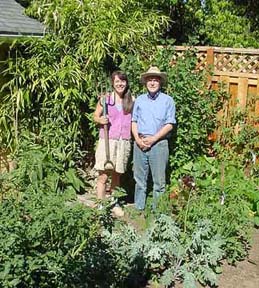
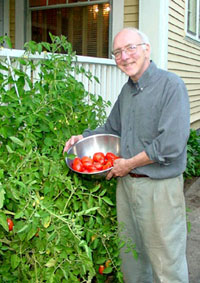 Learning to grow our own food. In 2005, we took Connie van Dyke's "Introduction to Permaculture" at Luscher Farm, and then Connie's "Urban Farming" class at Portland Community College. Books we have been reading include Gaia's Garden, Square Foot Gardening, Growing Vegetables West of the Cascades, Gardening When it Counts, and The Maritime Northwest Garden Guide. (photo taken August 2005)
 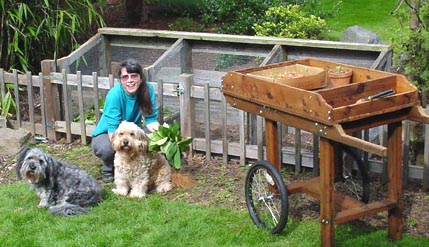 Building outdoor compost bins. In Summer 2005, a neighbor who was replacing her deck gave us enough cedar to build our three-section compost bin. John also built the flower cart! (photo taken June 2005)
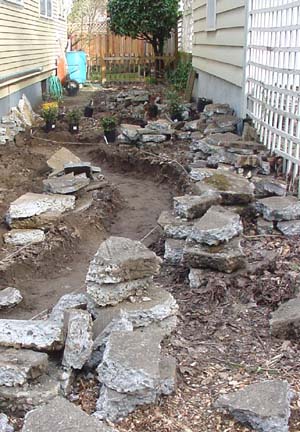
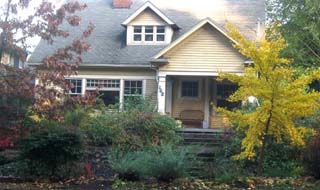
 The hawthorne trees on our median strip were suffering from a chronic fungus, which left them almost leafless most of the year. The "before" photo was taken when we had them removed in December 2005. In January 2006 we planted a scarlet oak and a ginko. The "after" photo was taken in November 2011.
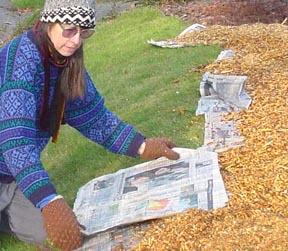
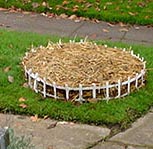
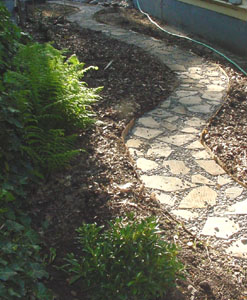
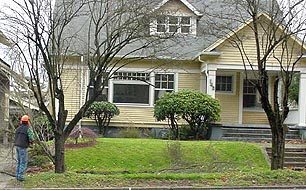
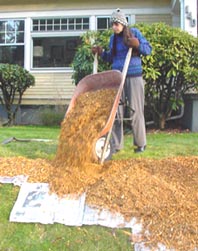 Sheet mulching the front yard to convert grass to space for plants. The wood chips are from the branches of the two hawthorne trees that we removed. We cut the hawthorne trunks into a nice stack of firewood (photos taken December 2005). Eventually we removed all of the grass. We are adding plants, especially Willamette Valley natives.
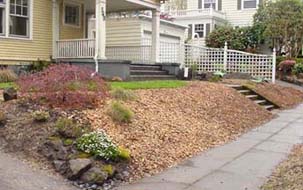
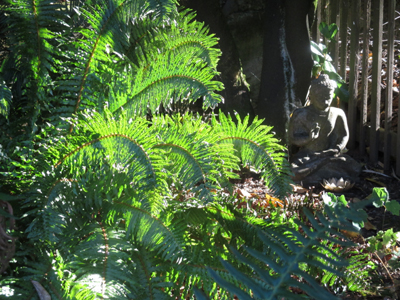
 Participating in the Backyard Habitat Certification Program. When I took the OSU Master Gardener Training in 2009, I learned about this wonderful program for residents of Portland. The volunteer training that I took at the Audubon Society clarified the importance of native plants. When you sign up, someone will come to look at your yard, and will point out any invasive plants that should be removed, and discuss the variety of options for planting natives, stormwater management, and wildlife habitat. We soon received our certification at the Silver level, and in July 2011, our yard was certified at the Gold level. I highly recommend signing up for this program through the Audubon Society of Portland or Columbia Land Trust.
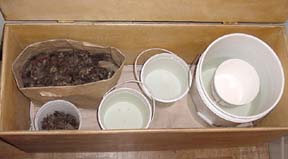 Our first step in learning to change our bathroom habits was to follow the saying "if it's brown, flush it down; if it's yellow, let it mellow". Flushing with graywater was the next step. But now instead of flushing the yellow, I collect the free source of nitrogen and either put it in the compost, or dilute it 5:1 with rainwater and use it to water leafy plants.
 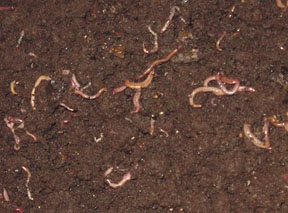 Worm Composting. After 20 years of worm composting in two bins in our basement, we decided to give away most of our worms, and and put the rest of them in a Metro composting bin outside. We now add rough-chopped food scraps to this bin, and cover with shredded leaves. The worms are thriving there. Here's the story of our experience with worm composting in our basement.
 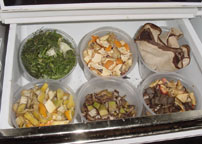 This is the method I used for worm composting. I started out with a combination of leaves and dirt in the bins, which I guess is a little unusual, but has been very successful. I never had a problem with bugs or odor. It just smells like dirt. If you put an ear close to the bin, you could hear a lot of activity in there! I suppose this is a combination of the sounds of decomposition and the worms moving around.
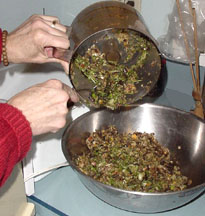 About once a week, I put the scraps -- including torn-up coffee filters -- through my food processor and mix everything together into a big bowl. This takes about 10 minutes. The food processor is "on" less than a minute, and this effort speeds composting and keeps everything nice and tidy in the bins.
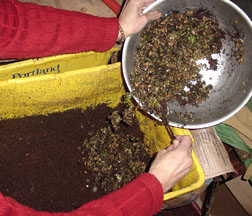
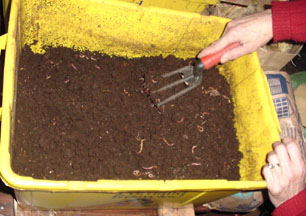 The worms lived in the basement in two plastic recycling bins. The bins have holes in the bottom, and are on wood blocks to allow for air circulation. I put half of the worm food in each bin, and then very gently use a hand rake to thoroughly cover the food with dirt and worm castings (some worms get moved around too). Each time, I put the food on the low side, and then mound the dirt up on that side, over the food.